

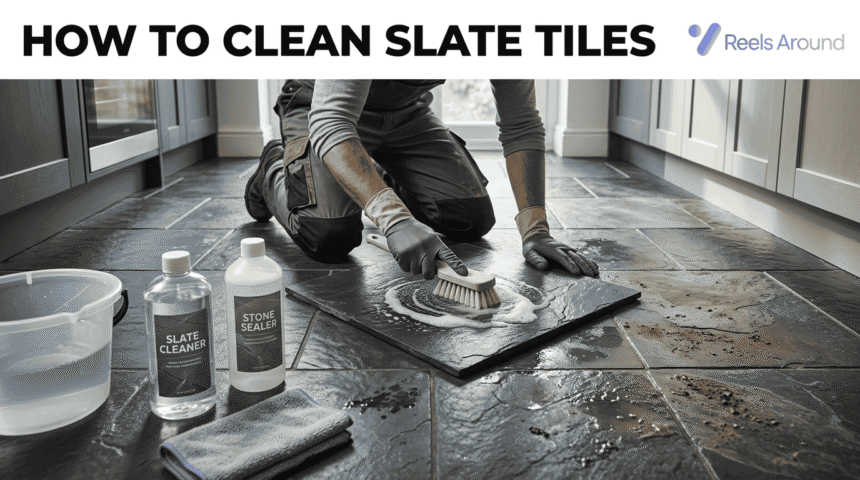

When evaluated by mineral composition, slate tiles represent a resilient flooring investment. However, routine cleaning of any natural floor requires a dedicated pH-neutral stone cleaner to protect sensitive mineral structures.
An effective maintenance protocol utilizes a two-bucket method. Before mopping, sweep or vacuum using a soft broom or specialized brush-head attachment to remove abrasive particles that cause surface scratching over time.
Following a thorough wash, rinse with clean water and buff the stone dry using a microfiber cloth within 5 minutes. Avoid acidic vinegar, lemon juice, or harsh bleach.
Furthermore, eliminate steam mops and acrylic wax, as heat breaks down protective sealer layers. Perform a water drop test 2 times a year to check if you need to reseal.
How to Clean Slate Tiles
Experiential stone care proves that improper mops and thermal steam ruin protective finishes instantly. When managing entryways, living rooms, or kitchen zones, severe foot traffic combined with active pets drives ground-in dirt deep into porous channels.
To preserve natural warmth, geological character, and structural beauty, surface maintenance demands zero aggressive chemicals. Unlike soft limestone, marble, or travertine, natural slate forms as a metamorphic rock under immense subsurface pressure and geological heat.
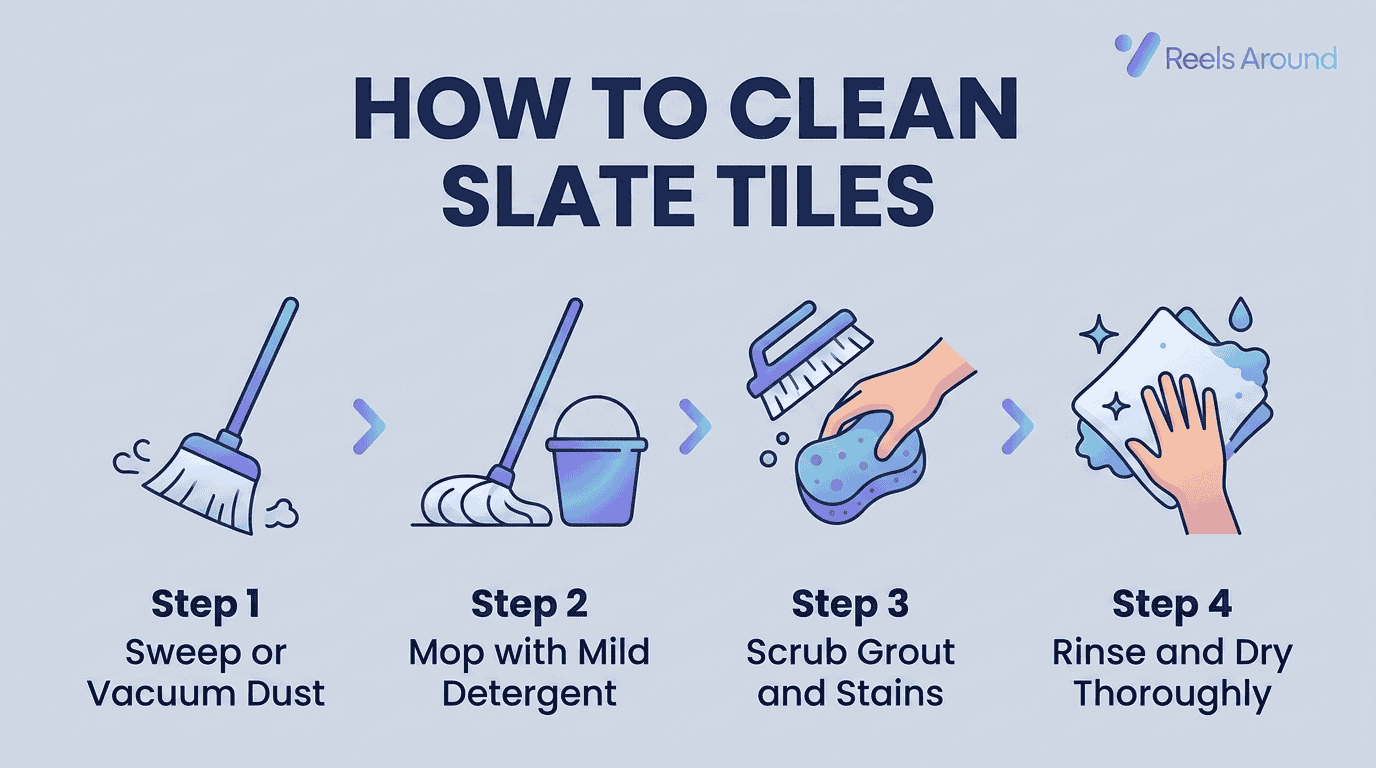
Originating from dense shale and mudstone, its complex matrix features tight layers of quartz, mica, and chlorite. Quality stone exhibits less than 0.4% liquid absorption by weight, resisting stubborn organic stain formation naturally.
However, vulnerable cement grout lines and delicate surface finishes easily degrade when subjected to harsh acid compounds. Always bypass destructive household ingredients like acidic vinegar, fresh lemon juice, or harsh chemical bleach entirely.
Dry Soil Removal & Sweeping
Most homeowners assume wet mopping is the first line of defense, but applying water directly to a dirty floor creates an abrasive slurry that damages the surface. Fine grit acts like sandpaper when dragged across the tile by a wet mop.
Before liquid touches the surface, use a soft-bristle broom or a vacuum with a specialized brush head to lift loose dirt and dust. Pay close attention to grout lines, corners, and thresholds where abrasive particles collect.
For textured or riven slate, perform 2 passes during sweeping: the first pass lifts surface debris, while the second pass pulls trapped particles out of deep clefts. This simple habits prevents micro-scratches from forming.
Neglecting daily dry maintenance causes long-term surface degradation, particularly during the first 1 to 5 months after installation. During this settling period, natural spalling occurs as tiny stone flakes shed, requiring consistent removal.
Preparing Cleaning Solutions & Damp Mopping Routine
When preparing a liquid wash, chemical balance is critical. Fill bucket 1 with warm water and a measured capful of pH-neutral stone cleaner, avoiding over-concentration which leaves a sticky film that attracts dirt.
Fill bucket 2 with plain water to serve as a dedicated rinse station. Dip your mop, then wring it until completely damp rather than dripping, ensuring excessive moisture does not seep into the porous substrate.
Work systematically in small 4 feet square section areas. Rinse and wring the mop in the second bucket after each section to prevent spreading suspended soil, changing the liquid immediately whenever it appears cloudy.
Never substitute dedicated stone formulas with generic dish soap or high-temperature hot water, as excessive heat softens protective coatings. Always perform a quick test on an inconspicuous area to ensure finish compatibility before cleaning.
Deep Cleaning Extremely Dirty & Soiled Slate Tiles
Restoring neglected surfaces requires switching from daily neutral formulas to heavy-duty alkaline cleaners rated between pH 9 and 11. These specialized solutions effectively emulsify embedded oils, body soil, and layers of old residue.
Apply the mixed solution across a 20 square feet area and allow it to dwell for 10 to 15 minutes. Keep the surface wet by applying a light mist of water if the liquid begins drying.
Agitate the surface using a soft deck brush or a floor machine equipped with a white pad. Work the bristles directly into the textured valleys, then extract the suspended dirty solution using clean towels or a extraction machine.
For severe mineral deposits, rust, or cement haze, a specialized phosphoric acid formulation may be applied with extreme caution. Standard acidic compounds will etch sensitive minerals, so always verify stone composition before treating heavy buildup.
Sealing Slate Floors & Water Drop Testing
Understanding when stone requires protection is straightforward using a simple stopwatch verification method. Place 3 to 4 water drops directly onto a dry tile surface and observe how the liquid reacts over time.
If liquid beads consistently past 10 minutes, the existing barrier remains strong. If liquid flattens within 3 to 5 minutes, protection is thinning, indicating the surface will require a fresh coat within 2 months.
If the stone darkens within 60 seconds, the barrier has failed entirely. Instant darkening indicates bare, unsealed stone that must be deep cleaned and protected before returning the surface to normal daily foot traffic.
Select the appropriate formula based on the desired finish: an impregnating penetrating sealer maintains a natural matte finish, whereas a topical acrylic coating produces a low sheen or high shine finish while protecting against stubborn stains.
Tools & Supplies Required
Assembling the correct equipment prevents accidental surface etching or abrasion. Daily maintenance requires a microfiber dust mop, a flat mop, a soft-bristle broom, and a vacuum featuring a hard-floor head without a active beater bar.
For wet washing, utilize two buckets alongside a certified pH-neutral stone cleaner (rated pH 7 to 8). Keep a secondary alkaline cleaner (pH 9 to 11) on hand specifically for periodic intensive deep cleaning.
Manual agitation requires a soft nylon deck brush, a dedicated grout brush, and non-abrasive white scrub pads. Avoid green or colored scouring pads, as their abrasive synthetic fibers easily scratch delicate natural stone surfaces.
Final cleanup steps necessitate several clean, dry microfiber towels to absorb leftover moisture. For large installations or restoration projects, a commercial wet/dry shop vacuum provides superior extraction power to remove dirty wash water efficiently.
Slate Dos and Don’ts / Mistakes to Avoid
Certain traditional cleaning habits cause irreversible physical and chemical damage to natural stone. Never use aggressive mechanical abrasives like steel wool, wire brushes, scouring powder, or harsh green abrasive pads on natural slate surfaces.
Avoid chemical exposure to bleach, ammonia, concentrated acidic cleaners, vinegar, or lemon juice. Furthermore, avoid oil-based soaps, topical floor wax, or steam mops, as intense heat drives moisture deep into structural fissures.
Protect vulnerable high-traffic zones by placing non-staining rugs or protective mats near exterior entryways. Always lift heavy furniture rather than drag items across the floor, utilizing felt protectors on every base to prevent deep gouges.
When accidental spills occur, absorb liquid promptly to eliminate the risk of permanent staining. Establish a routine maintenance schedule to reseal the surface annually, keeping protective barriers intact against everyday foot traffic and ambient moisture.
What Makes Slate Different From Every Other Stone Floor
Geologically, slate is a metamorphic rock formed through intense compression of ancient shale and mudstone. Its primary composition consists of resilient minerals including quartz, mica, chlorite, and illite, creating a unique layered structure.
Unlike calcareous stones such as marble, limestone, or travertine, true slate contains virtually no calcium carbonate. Consequently, slate does not experience typical surface etching when exposed to mild acids, making it chemically resilient.
However, lower-grade stone variants occasionally contain calcite veins or pyrite inclusions that react poorly to harsh chemicals. Exposure to strong oxidizers or acids can cause internal iron particles to bloom into permanent surface rust streaks.
Physical characteristics vary across 5 primary finishes: textured riven or cleft, smooth honed, uniform gauged, rounded tumbled, and reflective polished. Each specific finish dictates the mechanical approach required for effective maintenance and soil extraction.
Buffing and Drying Slate Tiles
Allowing washed surfaces to air dry naturally is a common operational mistake. As wash water evaporates unevenly across natural textured stone, dissolved ambient minerals remain behind, creating unsightly white spots and cloudy patches.
Immediately after rinsing, buff the entire floor using a clean, dry microfiber towel or a dry flat mop. This simple mechanical step removes lingering mineral deposits and ensures a completely uniform surface appearance.
Pay extra attention to low-lying valleys and high-moisture areas where rinse water naturally pools. Completely removing residual moisture prevents the formation of dull surface film and protects freshly applied sealers from premature clouding.
When executing deep cleans, maintain a dedicated dry bucket containing clean towels to replace damp cloths as soon as they become saturated. Thorough drying represents the final critical step in professional natural stone care.
Dedicated Grout Line Treatment & Wet Vacuum Extraction
Because cement grout sits lower than the tile face, heavy soils naturally migrate into recessed channels. To restore dirty lines, spray a dedicated alkaline grout cleaner directly onto the channels and allow it to dwell 5 minutes.
Agitate the recessed channels using a stiff nylon brush aligned with the joint direction. Never use a wire brush; microscopic metal fragments break off during scrubbing, causing permanent scratches that eventually form brown rust spots.
For maximum soil recovery, extract the loosened slurry using a powerful wet/dry shop vacuum. Mechanical suction pulls soiled liquid directly out of porous grout pores far more effectively than manual damp mopping alone.
After extracting the dirty solution, thoroughly rinse the channels with clean water and perform a final extraction pass. Eliminating lingering chemical traces ensures the restored grout dries evenly without leaving behind chalky residue lines.
Special Care: Scratches, Wax, and Stain Poultices
Minor surface scratches on dark or honed slate can often be softened visually using targeted treatments. Gently rubbing a tiny amount of technical-grade mineral oil into the affected area blends the minor mark into surrounding stone.
Deeply set organic stains require chemical extraction rather than aggressive surface scrubbing. Prepare an absorbent stone poultice by mixing industrial flour with hydrogen peroxide until it forms a thick, smooth paste consistency.
Apply the paste directly over the mark, cover completely with plastic wrap, and tape edges down overnight. As the mixture dries, it draws embedded discoloration out of the porous matrix through capillary action.
To eliminate old candle wax or sticky residues, avoid scraping with sharp metal edges. Instead, apply specialized alkaline cleaners or target spirits to dissolve organic compounds without etching underlying protective seals or natural stone.
Slate Tile Floor Cleaning FAQs
Can I Steam Clean My Slate Tile Floor?
Never use a steam cleaner on natural stone installations. High thermal energy creates intense thermal shock that induces microscopic micro-cracks within stone layers, while forced pressure drives moisture deep beneath protective barriers.
This rapid moisture intrusion causes widespread sealer degradation, turning glossy finishes into a cloudy finish. Stick exclusively to a standard damp mop paired with a certified pH-neutral stone formula for safe, effective maintenance.
Are Slate Floors Hard to Maintain?
When cared for correctly, durable natural stone floors are surprisingly straightforward to maintain. Establishing a consistent routine focused on regular sweeping eliminates surface dust and abrasive grit before wear occurs.
Combining routine sweeping with periodic pH-neutral mopping and an annual sealer application ensures complete protection. This low effort routine guarantees exceptional structural longevity while preserving natural aesthetic depth effortlessly.
What Is the Best Product to Clean Slate Floors with?
The absolute safest daily option is a certified pH-neutral stone cleaner formulated specifically for natural surfaces. Alternatively, a few drops of mild dish soap mixed into warm water offers a safe, economical alternative.
Always select non-acidic, non-abrasive commercial formulations verified as tile safe. High-quality products lift bound soils efficiently while remaining completely residue-free, keeping unsealed and sealed natural stone surfaces pristine.
How Often Should You Seal Slate Floors?
Recommended seal frequency typically ranges between 1 to 2 years, depending heavily on foot traffic levels. High-use zones like busy kitchen spaces or primary home entryways demand more frequent applications.
Perform a periodic water drop test to monitor actual surface absorption. If liquid absorbs quickly, applying a fresh coat of protective sealant prevents moisture dampness from causing deep structural stains.
How Do You Rejuvenate Dull Slate Floors?
To restore lost depth, execute a thorough deep clean using a professional-grade alkaline stripper. This process removes built-up surface soap residue, old waxes, and cloudy mineral film completely.
After rinsing and drying the floor thoroughly, apply a fresh color-enhancing impregnating sealer. The liquid penetrates deep into stone pores, restoring natural visual luster, rich surface shine, and vibrant color depth.